Three Bags Later: Making My First Drawstring Mattress Topper Storage Bag
When I started my sewing journey, I wanted to make things that were genuinely useful around the house while building my skills along the way. I didn't want to sew just for the sake of sewing — I wanted to create things that solved little everyday problems, too.
One of those problems was finding a practical way to store the mattress toppers we use on our study daybed when they aren't needed.
A simple drawstring storage bag seemed like the perfect beginner project. Straightforward construction, a few basic measurements, some fabric and cord, and I would have something useful at the end.
What I didn't expect was that it would take three attempts to get the measurements right!
Starting with a simple idea
My plan was to make a long drawstring bag that would fit around the rolled mattress topper, keeping it contained and making it easier to store away.
I headed to Spotlight Hornsby to pick up my fabric and supplies, ready to get started.
I chose cotton duck for the project because I wanted something sturdy enough to handle regular use. I also picked up cord for the drawstring and a cord toggle to make closing the bag easier.
With everything ready, I made a small test sample using scrap fabric to practise the construction before committing to the full bag.
One of my early lessons was working out the best order for sewing the casing. I found it made more sense to create the drawstring casing before sewing the long side seam, rather than trying to leave a complicated section open and work around it later.
For my construction, I allowed a 1 cm seam allowance, a 3 cm fold for the casing, and additional room for the cord channel. Thinking through those measurements before sewing helped me understand how the finished bag would come together.
I was ready to make my first proper bag.
Bag #1: A little too snug
My first bag had finished dimensions of approximately 92.5 cm long by 36.5 cm wide.
It looked reasonable on the table, but the real test was whether the mattress topper would fit inside it.
Unfortunately, it was much too tight. The topper couldn't be fully enclosed, which rather defeated the purpose of making a storage bag in the first place!
I went back and measured the topper again. This time, I measured it at approximately 91.5 cm long, with a circumference of around 90 cm when rolled.
That circumference measurement was the important part.
I had been thinking too much about the width of the rolled topper, rather than how much fabric was needed to wrap all the way around it. A bag needs enough room for the full circumference, plus a little extra ease so the item can slide in and out comfortably.
It was a simple mistake, but a useful lesson. Measurements need to relate to the actual shape of the object, not just how it looks when you're measuring it from one side.
Lesson learned: measure the circumference and allow enough ease for the item to fit comfortably.
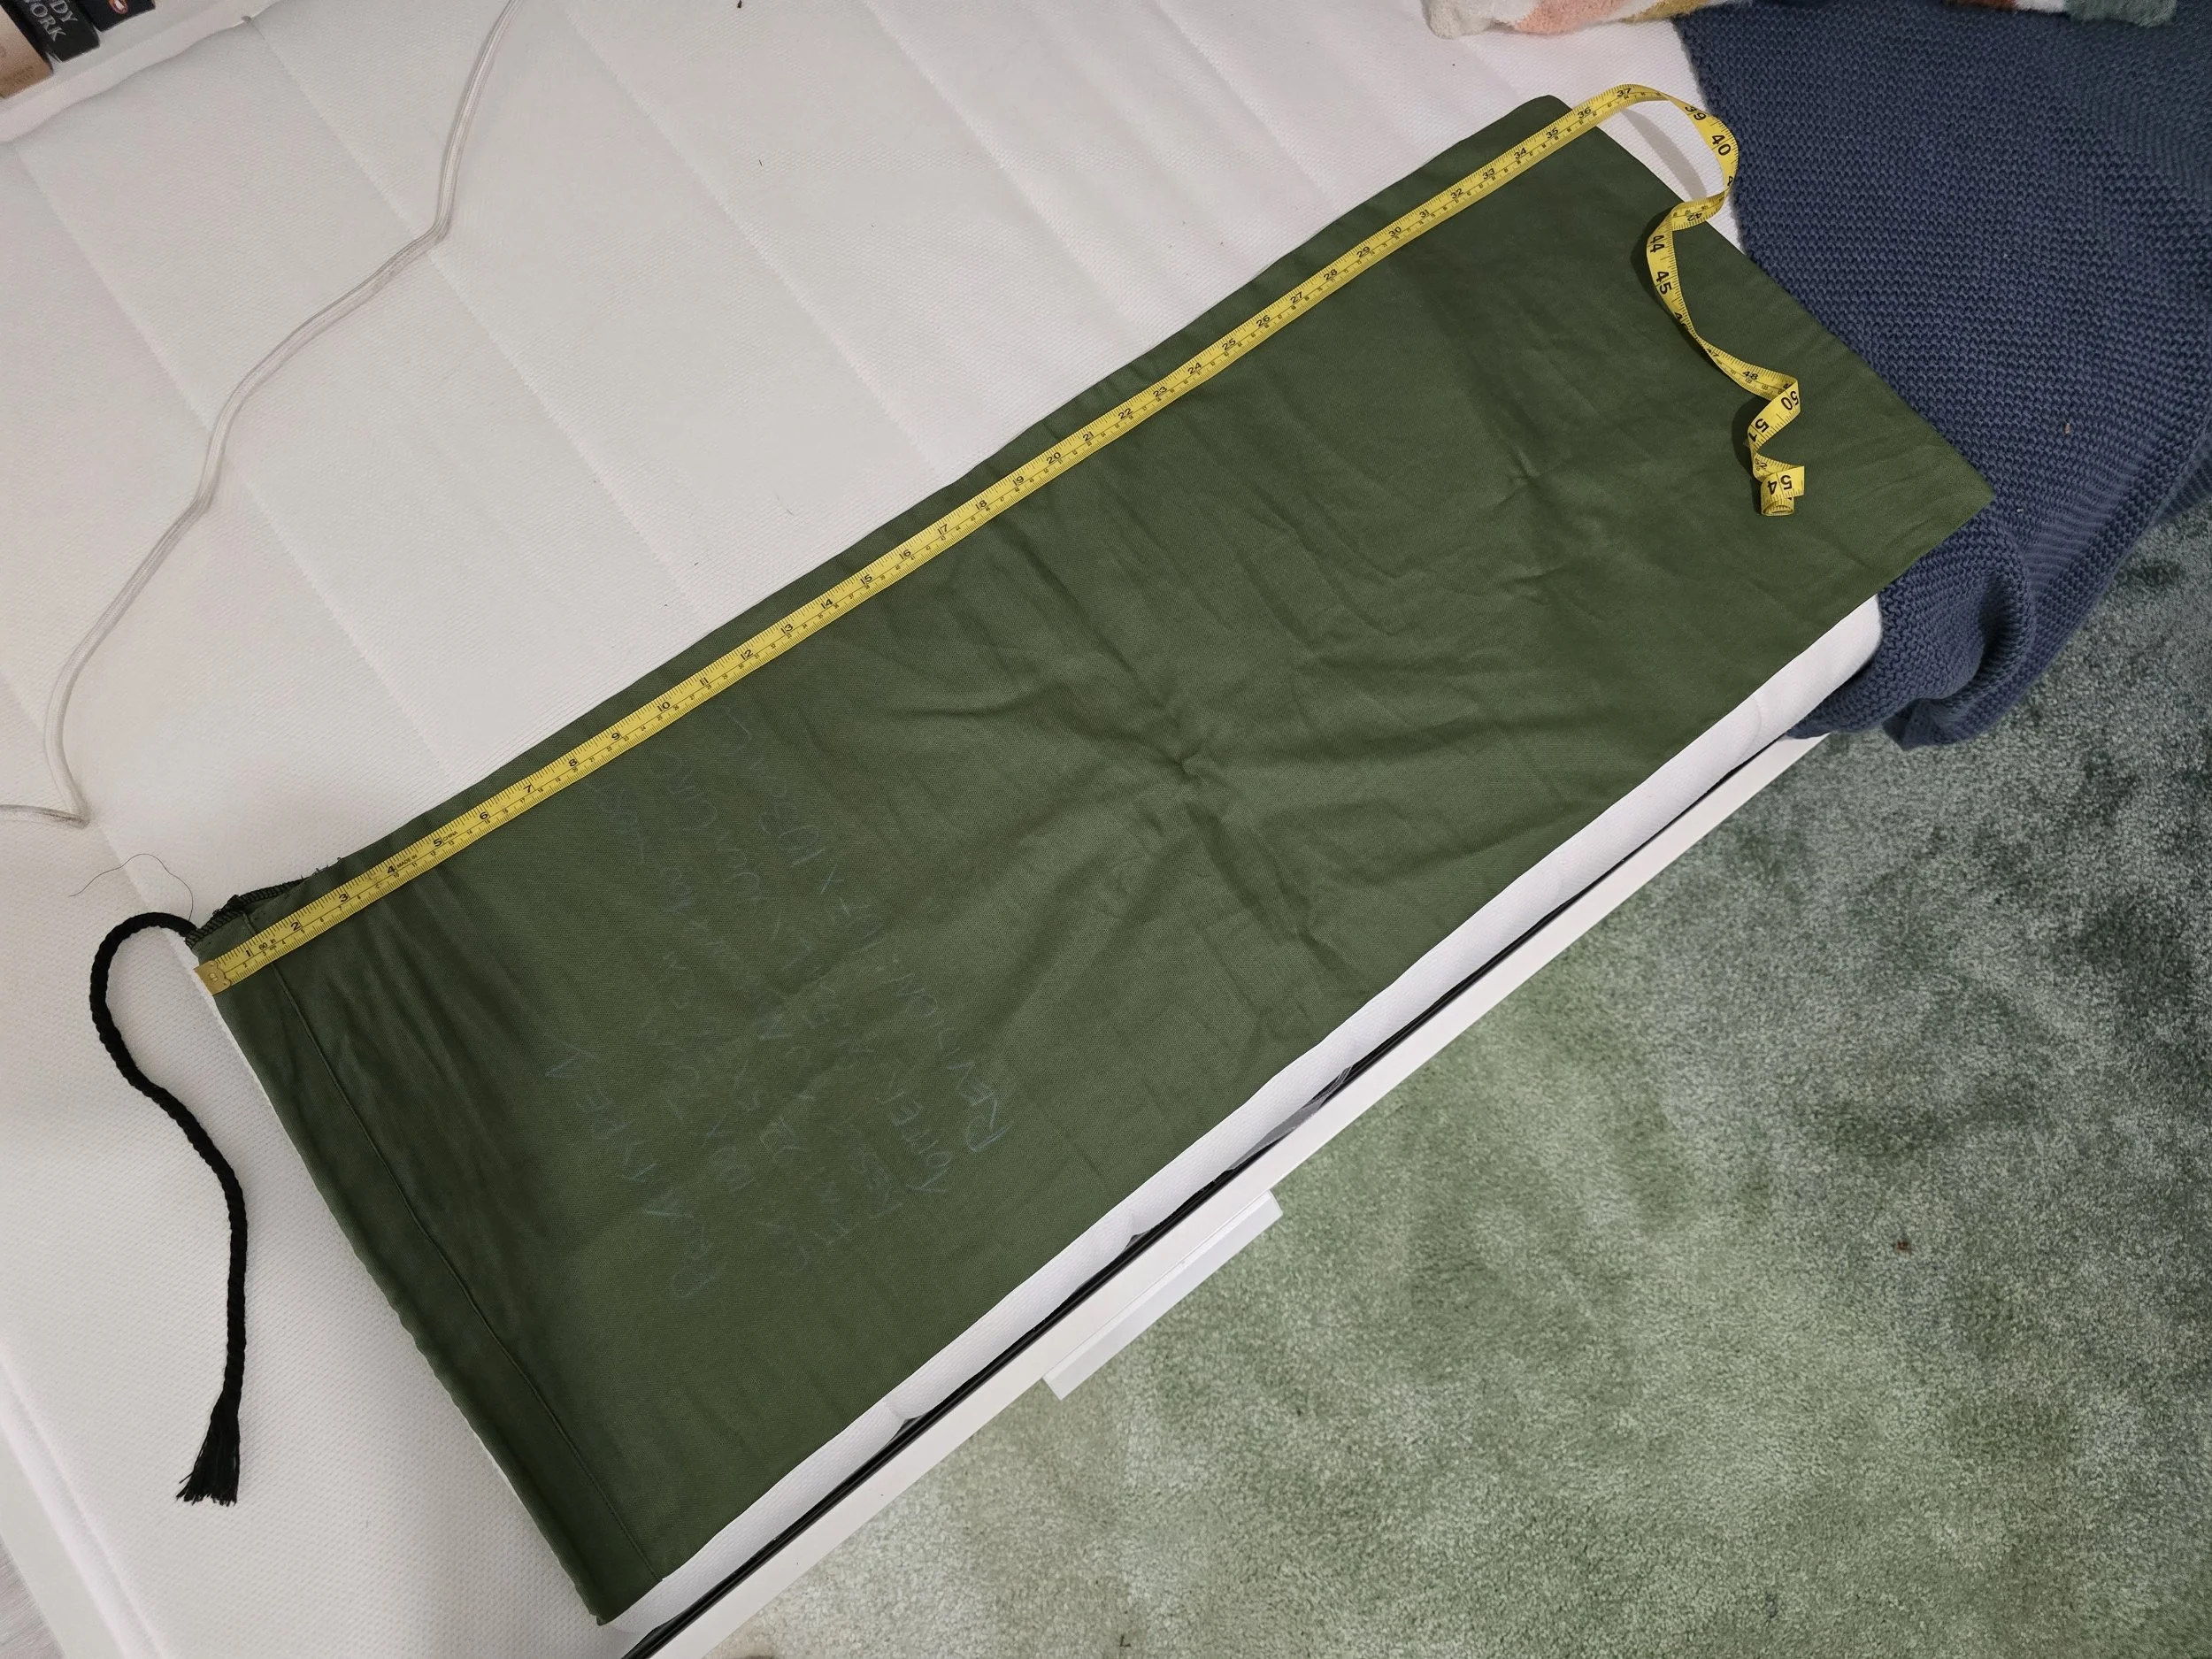
Measuring up bag #1
Bag #2: Better width, far too much length
For my second attempt, I corrected the width.
The finished bag measured approximately 148 cm long by 50 cm wide. The extra width made a huge difference, and the topper fitted much more comfortably around its circumference.
But there was a new problem: the bag was much too long.
With the topper inside, I had a substantial amount of unused fabric at the end. It would certainly store the topper, but it wasn't the neat, practical fit I had been aiming for.
At this point, I started questioning whether I had measured the length properly in the first place. I suspected that measuring on a table while standing up may not have given me the most accurate result, and that measuring the bag flat on the floor would be a better way to confirm its finished dimensions.
So, back to Spotlight the following day I went for more fabric, cord and another toggle.
By this stage, I was learning that the fabric itself was only one part of the project. Getting the measurements right was just as important as knowing how to sew the seams.
Lesson learned: check your measurements carefully, and test the finished fit before deciding a pattern is ready to repeat.
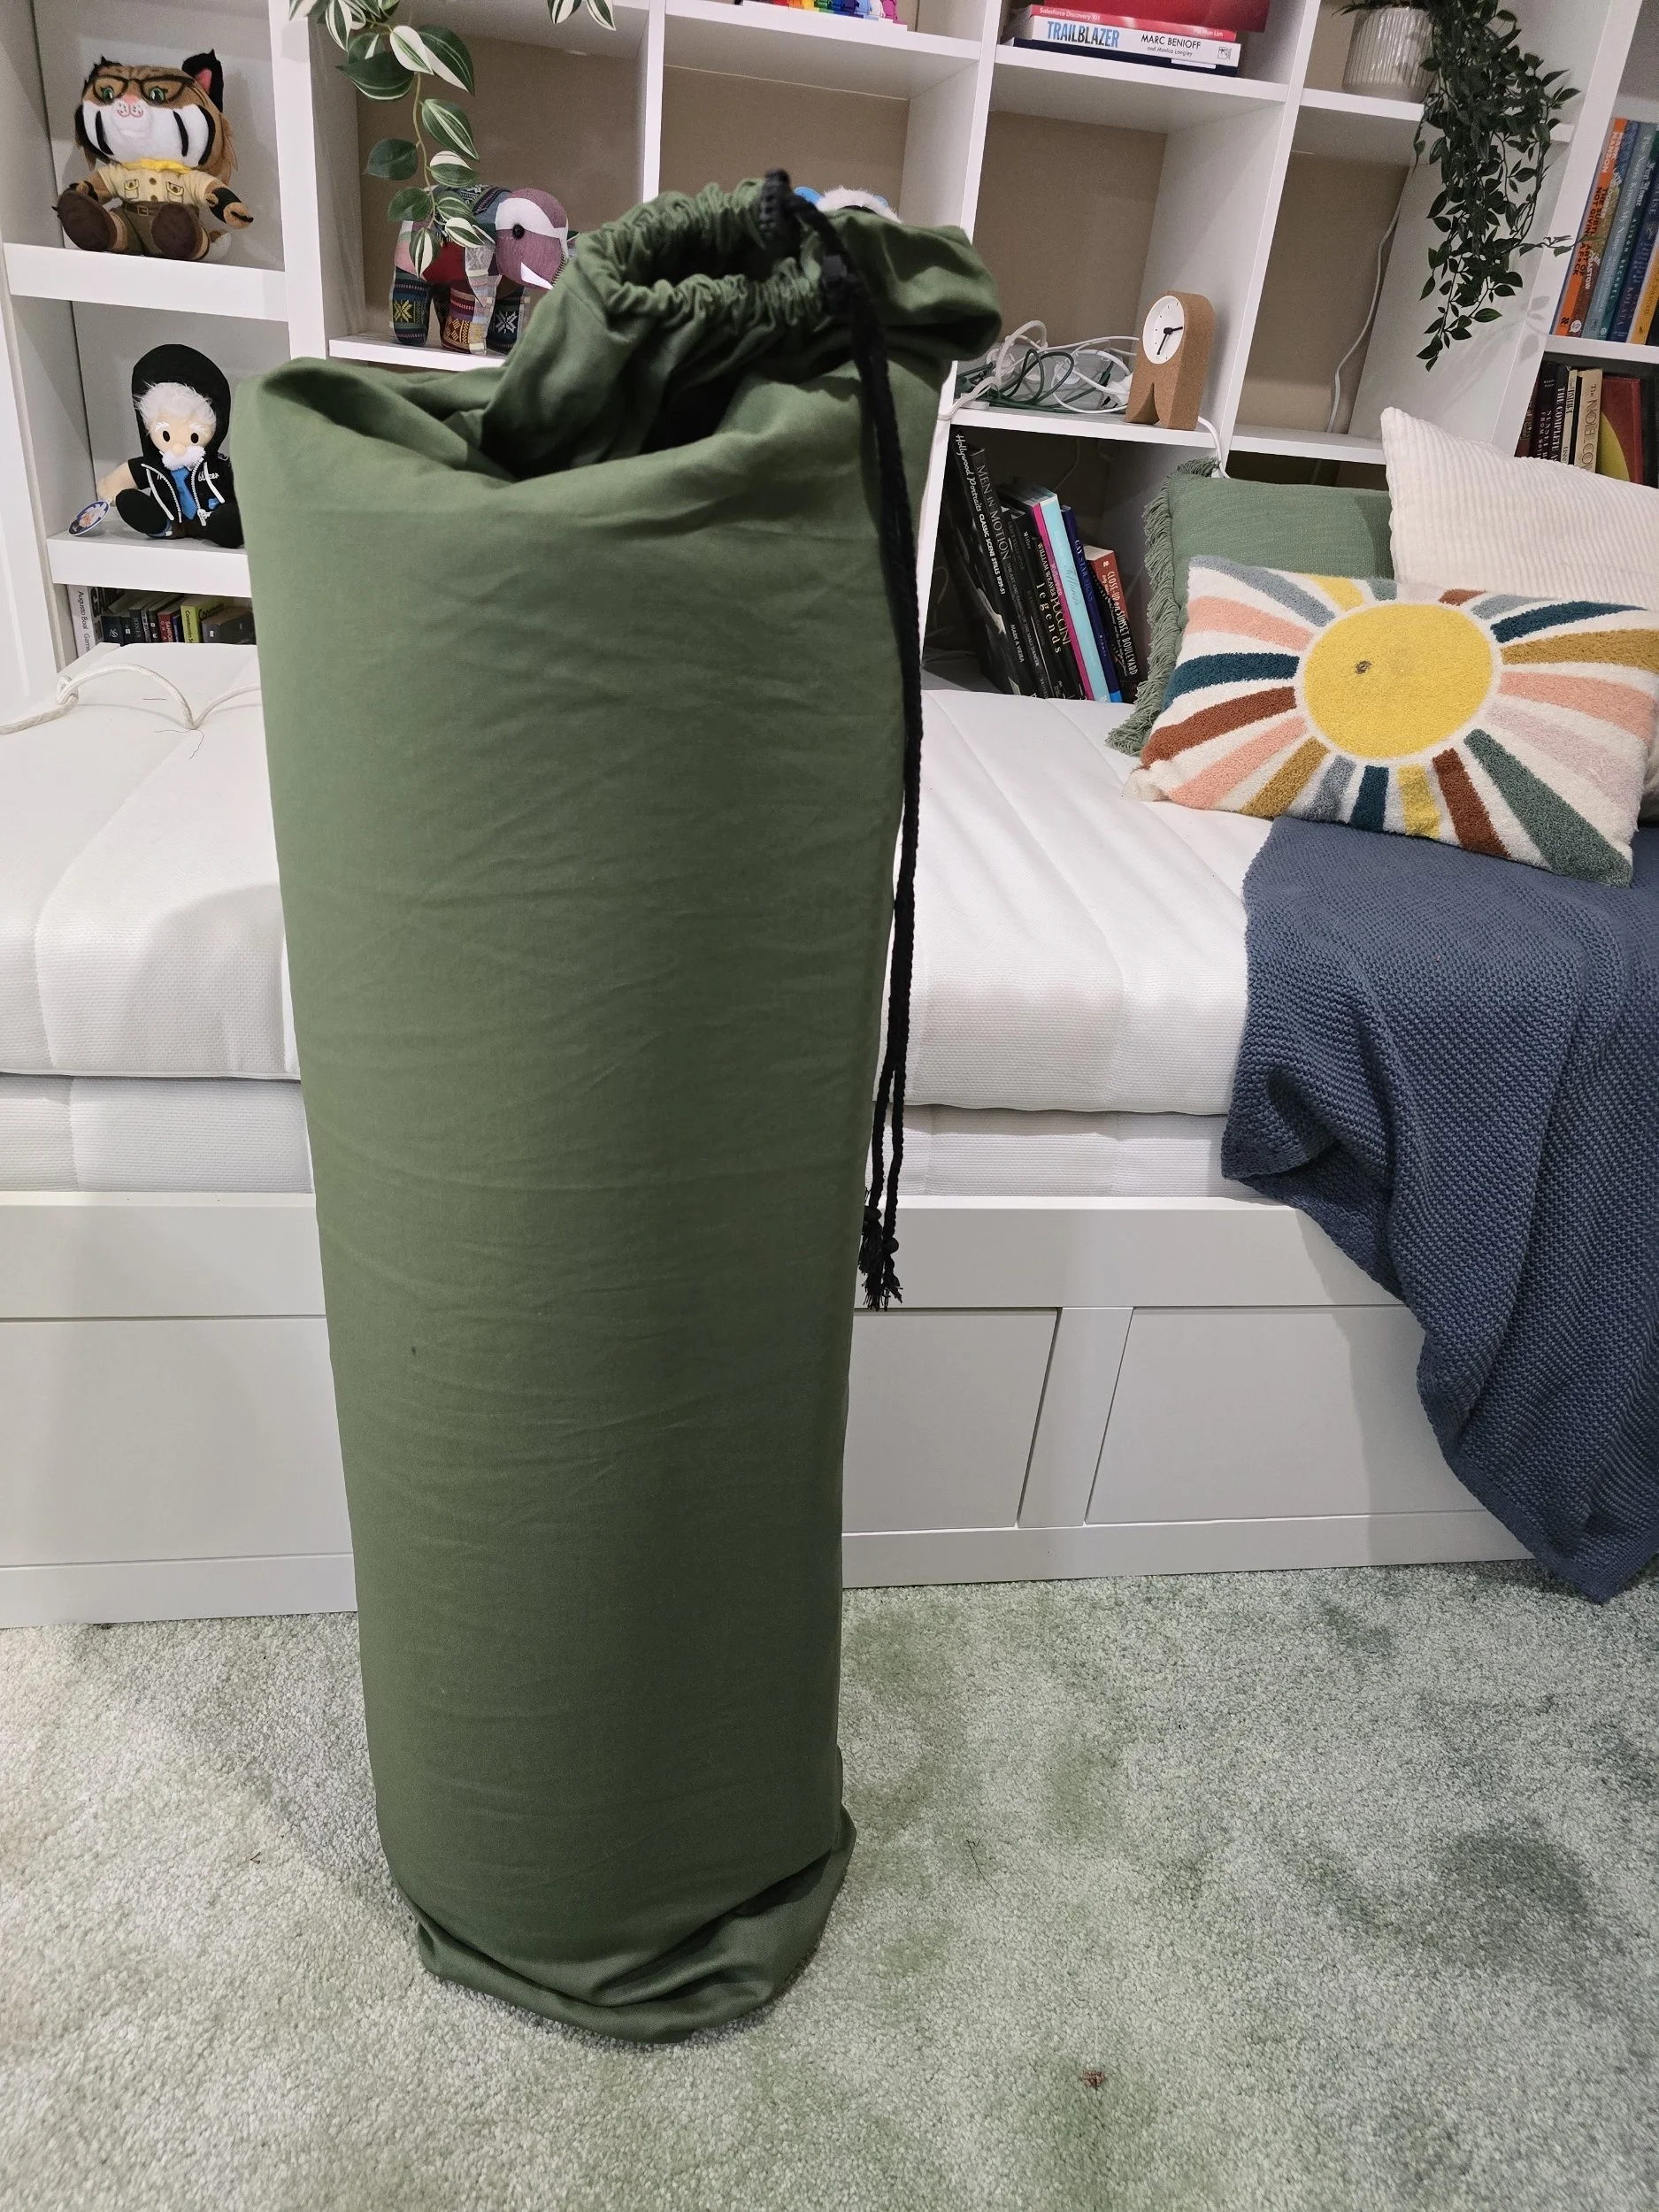
An oversized bag for attempt #2
Bag #3: Finally, the right fit!
For the third attempt, I used what I had learned from the first two bags and adjusted the dimensions again.
The final bag measured approximately 110 cm long by 51 cm wide.
This time, it was just right. The mattress topper fitted inside comfortably, with enough room to slide it in without struggling, while the overall length was much more practical.
After two rounds of adjustments, it was incredibly satisfying to see the finished result working exactly as I had hoped.
What started as a very basic drawstring bag had turned into a proper exercise in measuring, testing and refining a project until it worked.
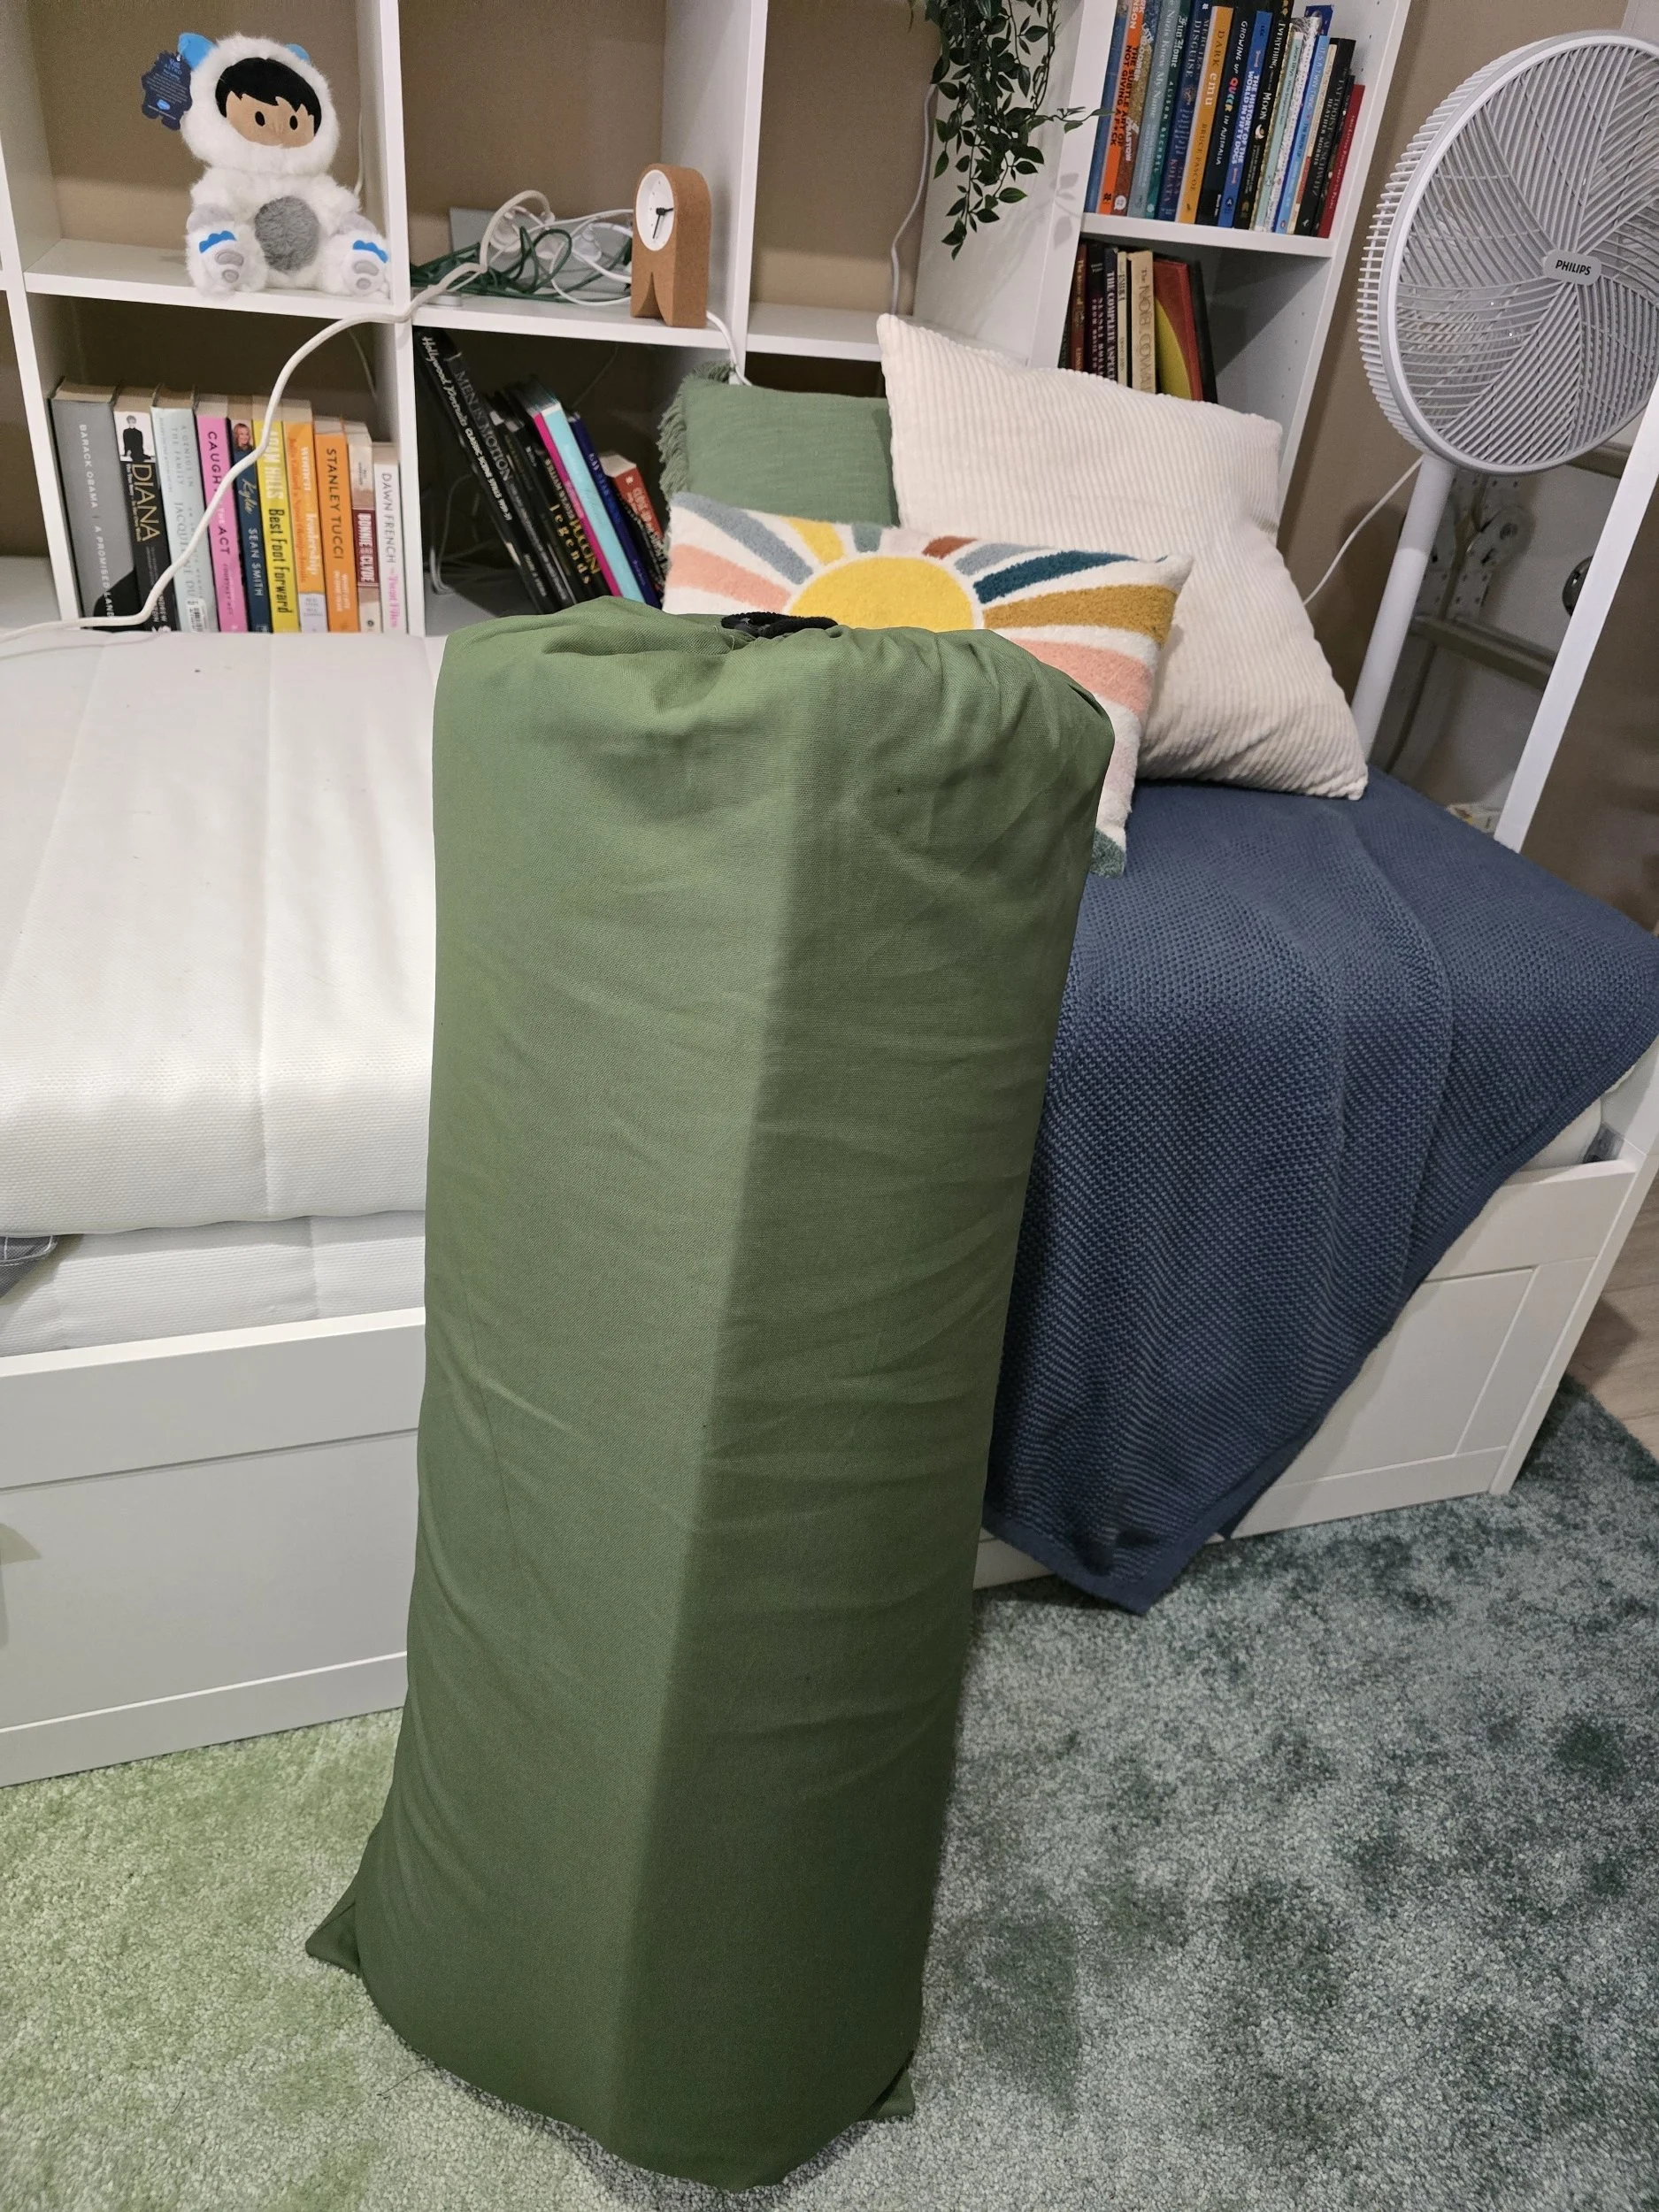
The final bag #3
What I learned from making three bags
Looking back, this project taught me far more than I expected from such a simple design.
1. Measurements matter — but so does ease.
It's not enough to measure the object and copy those dimensions directly into a pattern. You need to account for the shape of the item, the way it will be inserted, the seam allowances and the room needed for a comfortable fit.
2. Construction order can make a project easier.
Practising the drawstring casing on scrap fabric helped me work out how to construct the bag without making the sewing unnecessarily complicated. Creating the casing before sewing the long side seam was a useful improvement to my process.
3. The first attempt doesn't have to be the final version.
My first bag was too tight, and my second was too long. Rather than abandoning the idea, I used each attempt to work out what needed to change.
4. Useful projects are a great way to learn.
Because I had a real storage problem to solve, I had a clear reason to keep improving the bag. I could immediately see whether each adjustment had worked.
Would I make it again?
Absolutely!
Now that I've found dimensions that work for our mattress toppers, I have a much better starting point if I need to make another one. I can also record the final measurements, materials and construction steps so I don't have to work everything out from scratch next time.
It's a small step towards something I would eventually like to explore further: developing reliable patterns and making useful items that could potentially be sold.
For now, though, I'm happy to have solved a practical problem at home and learned a few valuable sewing lessons along the way.
Three bags later, I have a finished project that works — and a much better understanding of why testing and refining a design is part of the process.
Next up: my first lined zippered pouch, where I'll be tackling a completely new skill — installing a zipper.
Thanks for following along with my sewing journey. One project at a time, I'm learning as I go and sharing the successes, the mistakes and everything in between.
Sam Sews So Well
If you want to see more and help me on my sewing journey, please consider a contribution to ByMeACoffee