After making three mattress topper storage bags, I was ready to tackle something a little different.
The storage bags taught me a lot about measuring, construction order and learning from mistakes. For my next project, I wanted to build on those skills while introducing a few new techniques that I could use in future sewing projects.
Enter the lined zippered box pouch!
It's a useful little item in its own right, but it also introduces techniques that can be used in bags, accessories and even some garment projects. I would need to learn how to insert a zipper, attach a lining and create boxed corners to give the pouch its shape.
It sounded like a manageable next step — although I quickly discovered that choosing the right fabric makes a bigger difference than I had expected.
Choosing my fabric
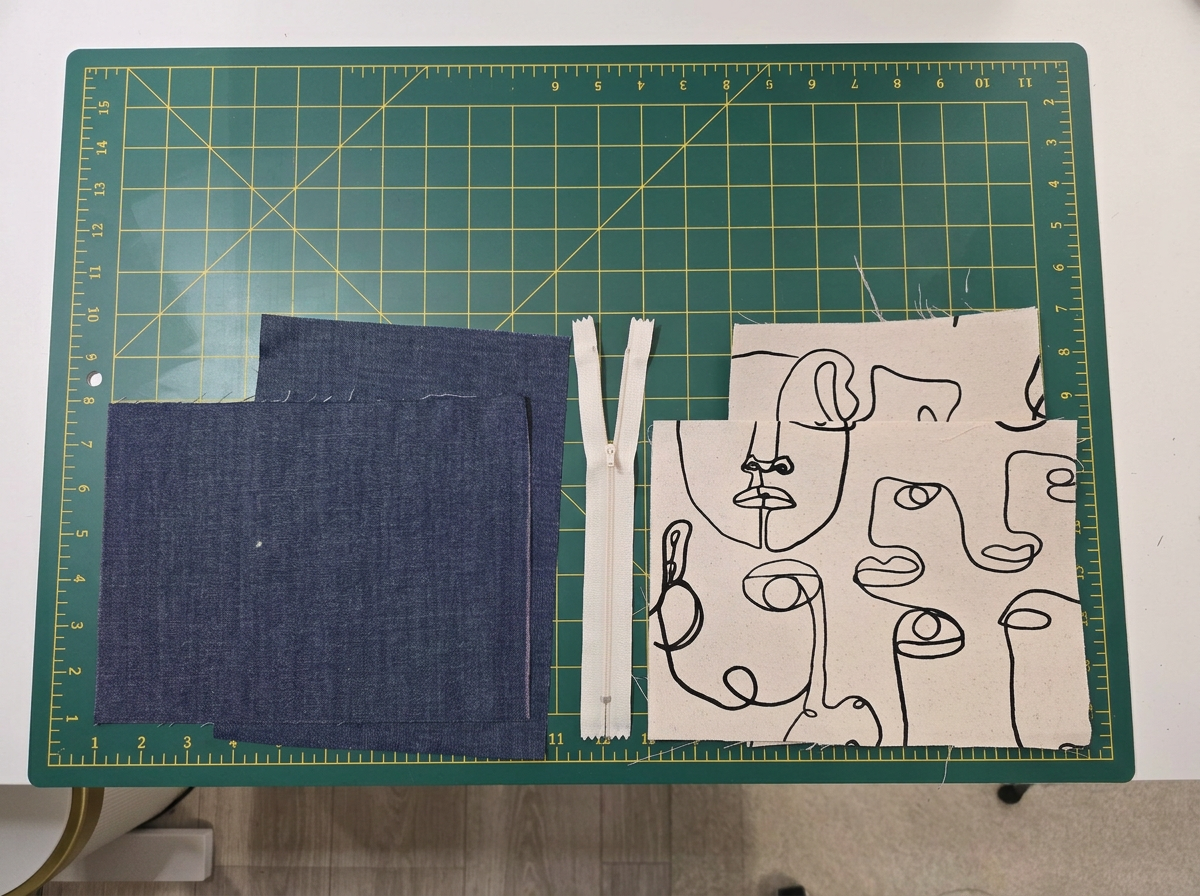
For my first attempt, I used cotton duck for the outer fabric and a lighter cotton denim for the lining.
I already had the materials available, and I thought the combination would give the pouch enough structure to hold its shape.
From a practical point of view, both fabrics worked. The finished pouch is sturdy and stands up nicely on its own.
However, putting the two fabrics together created more bulk than I would ideally want, particularly around the zipper ends and the boxed corners.
This was a useful reminder that fabric choice isn't just about how a material looks or feels on its own. It's also about how it behaves when several layers are sewn together.
For a future version, I would like to try a lighter outer fabric and a lighter lining, adding lightweight interfacing if I need more structure.
That way, I can choose how much body the pouch has rather than relying on two heavier fabrics to provide it.
Learning the zipper sandwich
The first big step was attaching the zipper.
Before starting the actual pouch, I practised the zipper sandwich method using the fabric pieces.
The basic idea is to layer the materials in the correct order: the outer fabric, the zipper, and the lining. Once the layers are sewn together and opened out, the zipper sits neatly between the outer fabric and lining.
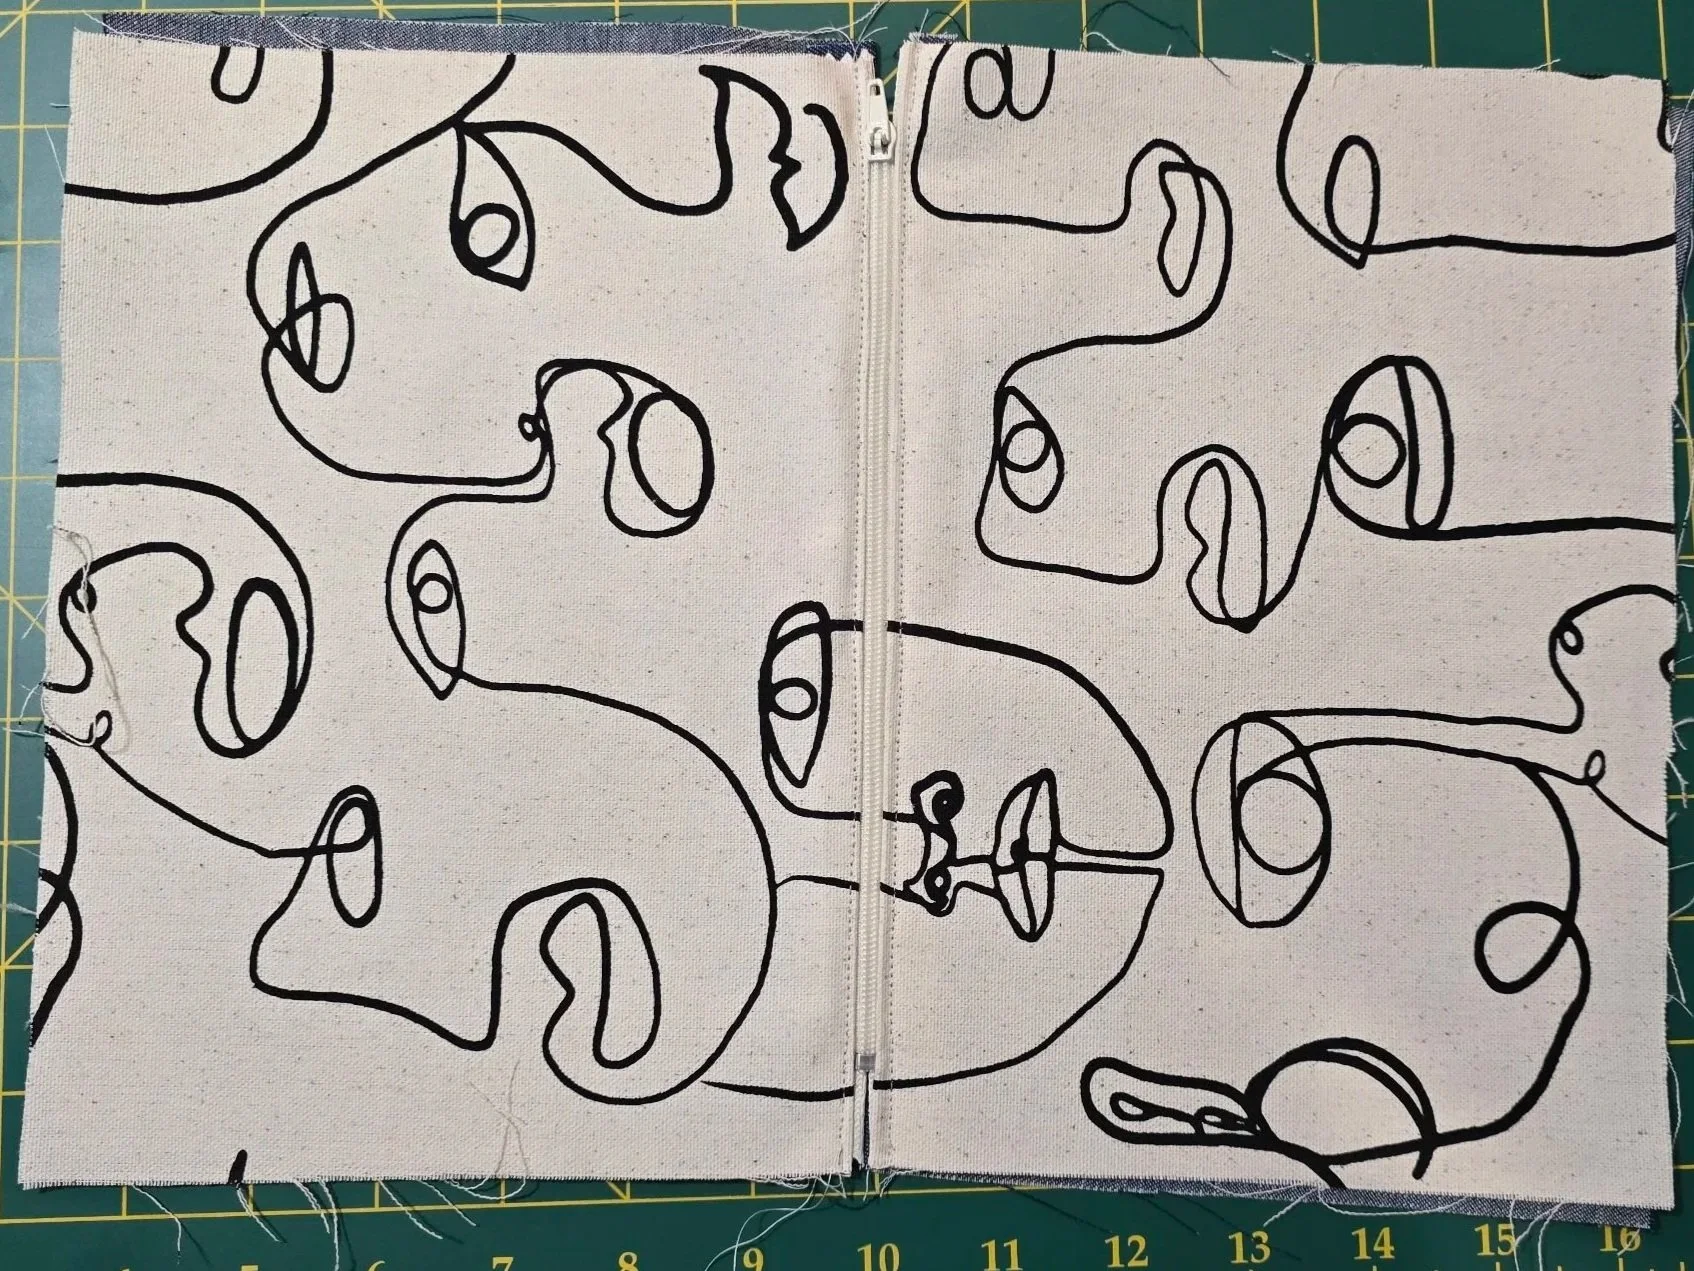
I attached one side first, pressed the fabrics away from the zipper teeth and topstitched along the edge. Then I repeated the process on the other side.
Topstitching was an important part of the process because it helped keep the fabric sitting neatly beside the zipper and reduced the chance of the lining catching in the teeth.
The technique made much more sense once I could see the layers coming together. It was one of those sewing moments where the method sounds a little confusing until you actually work through it.
I also learned to slow down around the zipper pull. Moving it out of the way when necessary made it easier to keep the stitching straight.
Turning flat pieces into a pouch
Once the zipper was attached, I could start assembling the rest of the pouch.
The outer fabric pieces needed to be placed right sides together, as did the lining pieces. I lined up the edges carefully and sewed around the shape, leaving an opening in the bottom of the lining so I could turn the pouch right side out at the end.
One important step was opening the zipper partway before sewing the pouch closed. Without that opening, turning the pouch would have been much more difficult!
Then came the boxed corners.
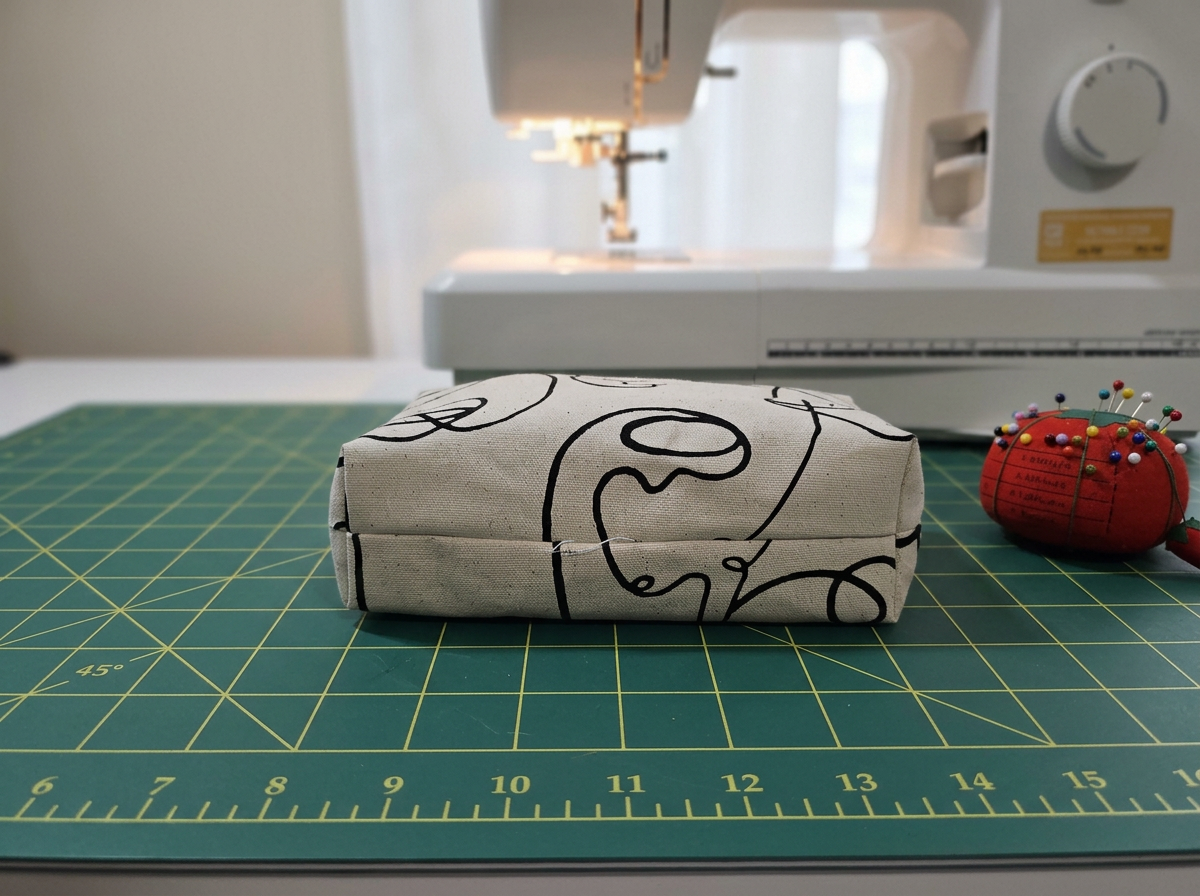
This was the step that transformed the flat fabric assembly into an actual three-dimensional pouch. By aligning the side and bottom seams at each corner, measuring the depth and sewing across the corners, I was able to create a base that gave the pouch its box shape.
It was satisfying to see the shape emerge. A few carefully sewn lines had turned a collection of flat pieces into something useful.
The corners weren't absolutely perfect, and the thicker fabric made some areas a little bulky, but the overall construction worked.
The finished pouch
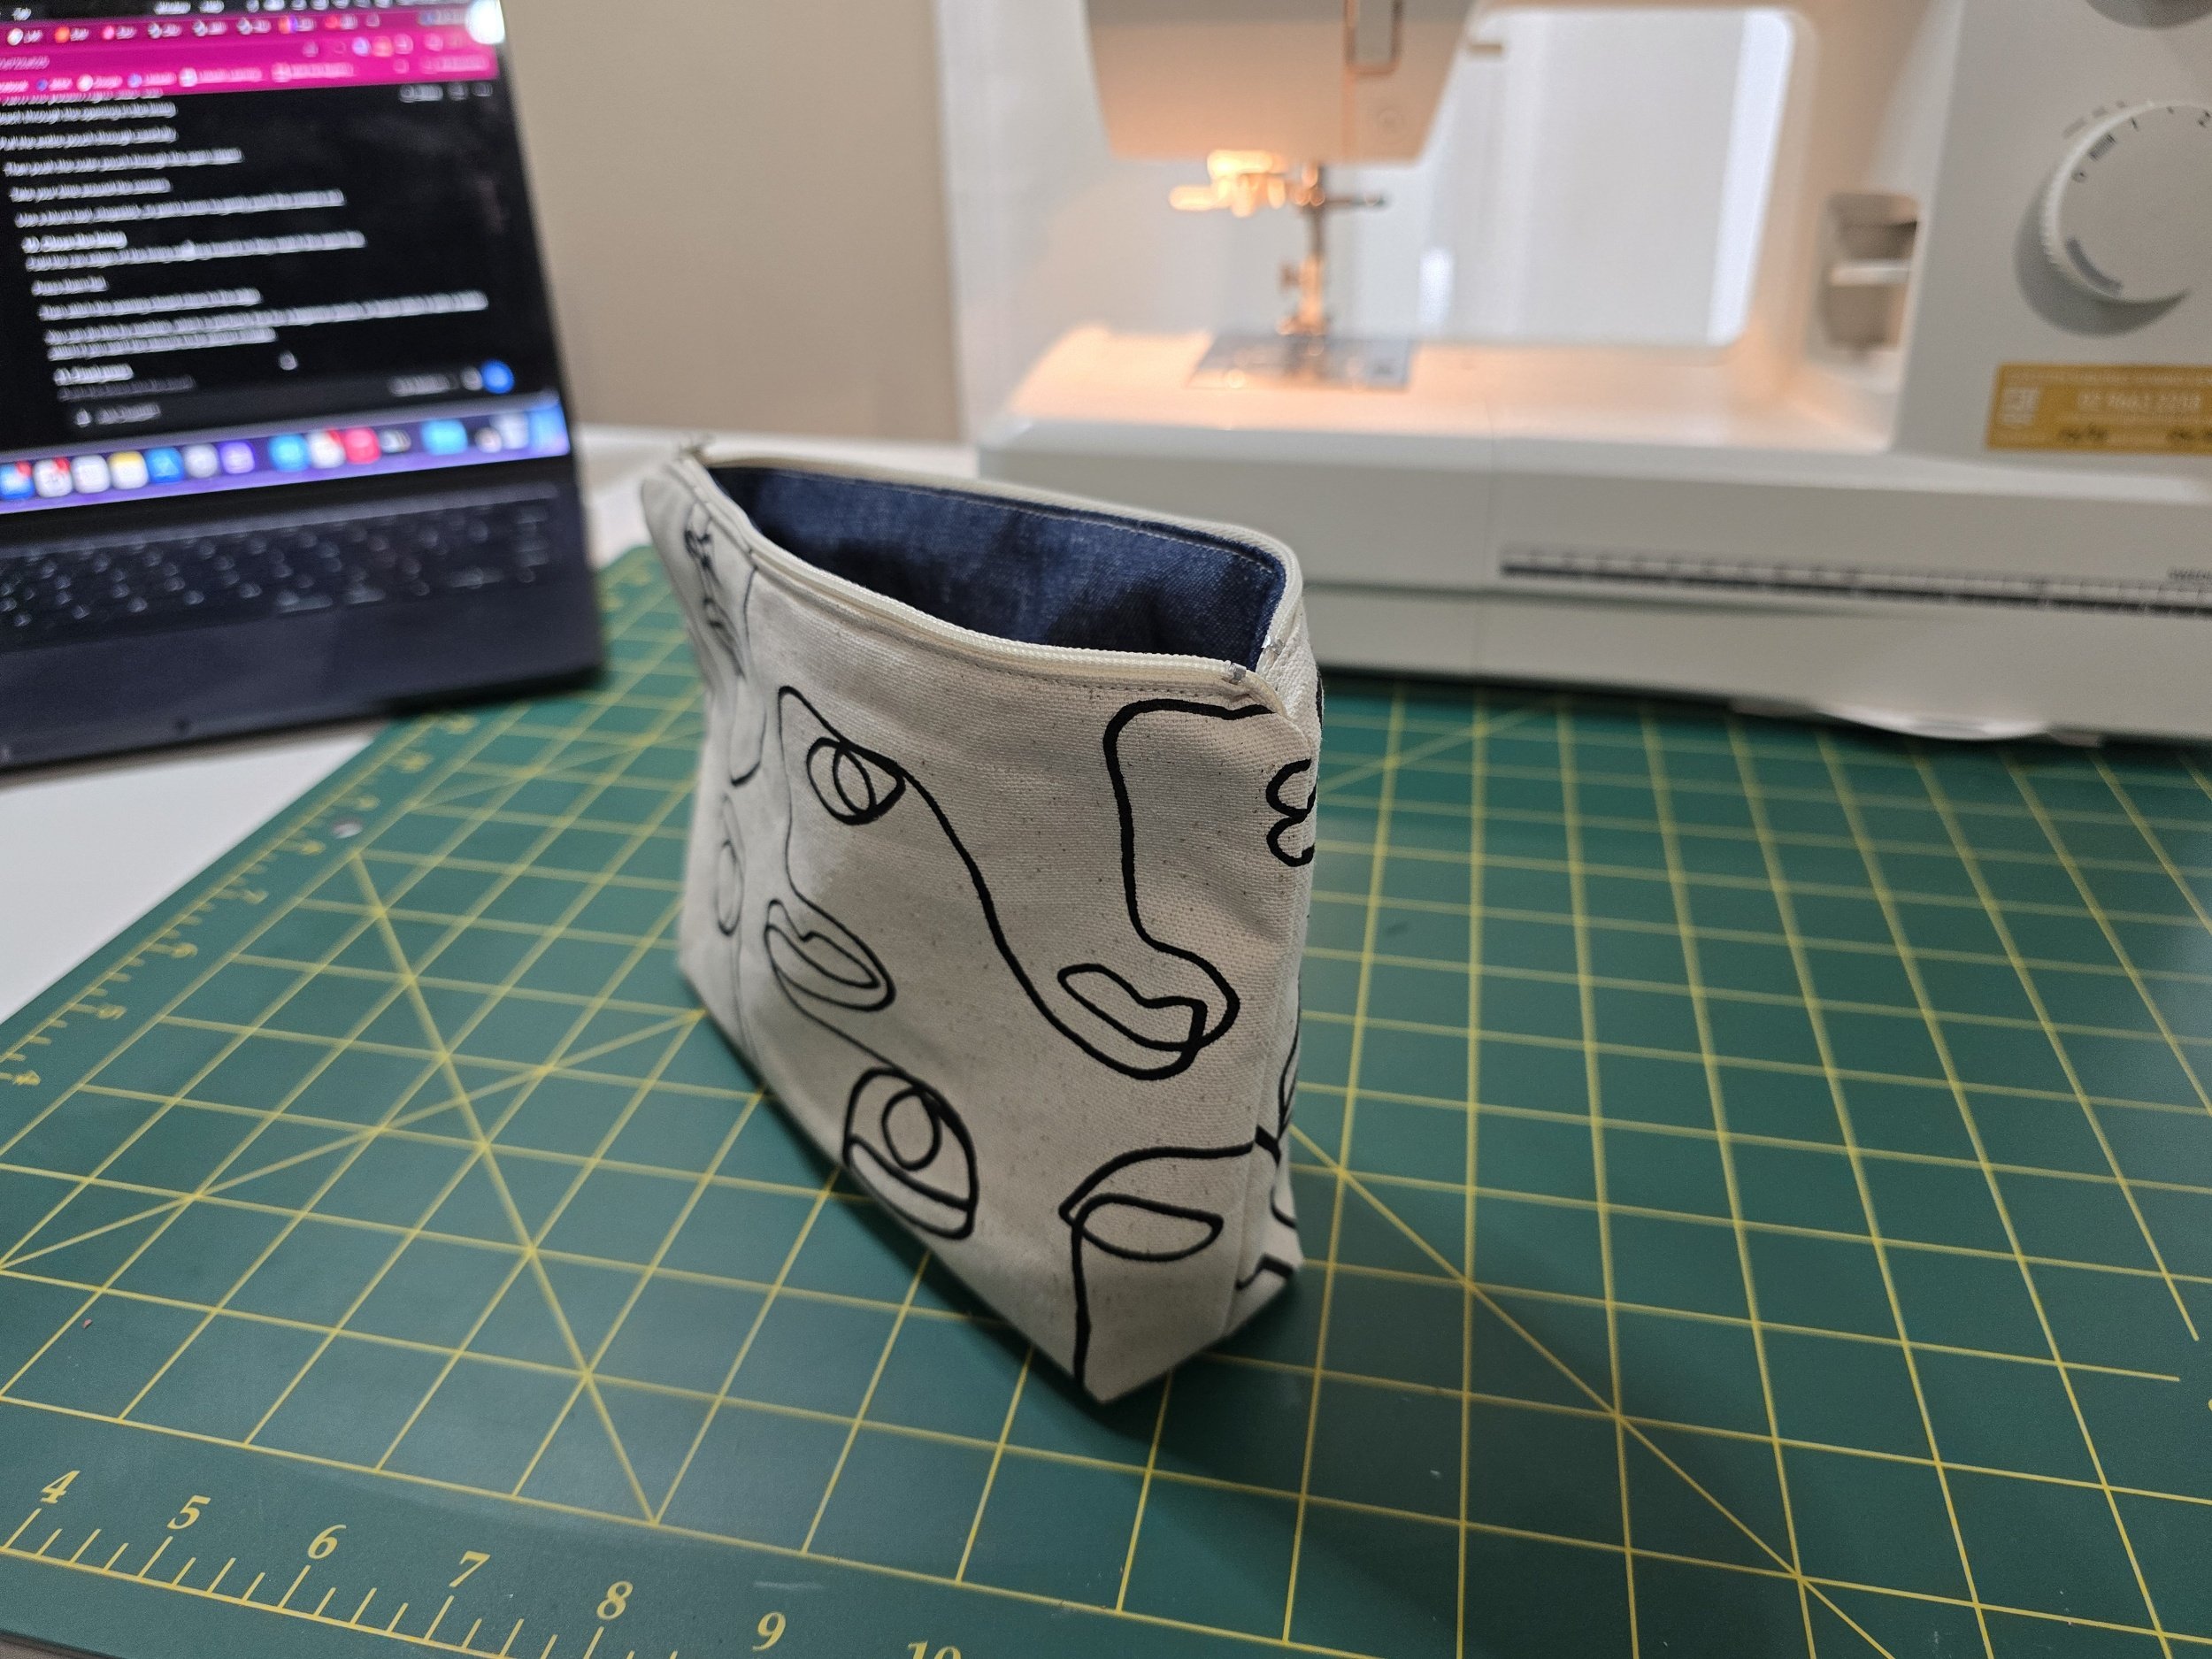
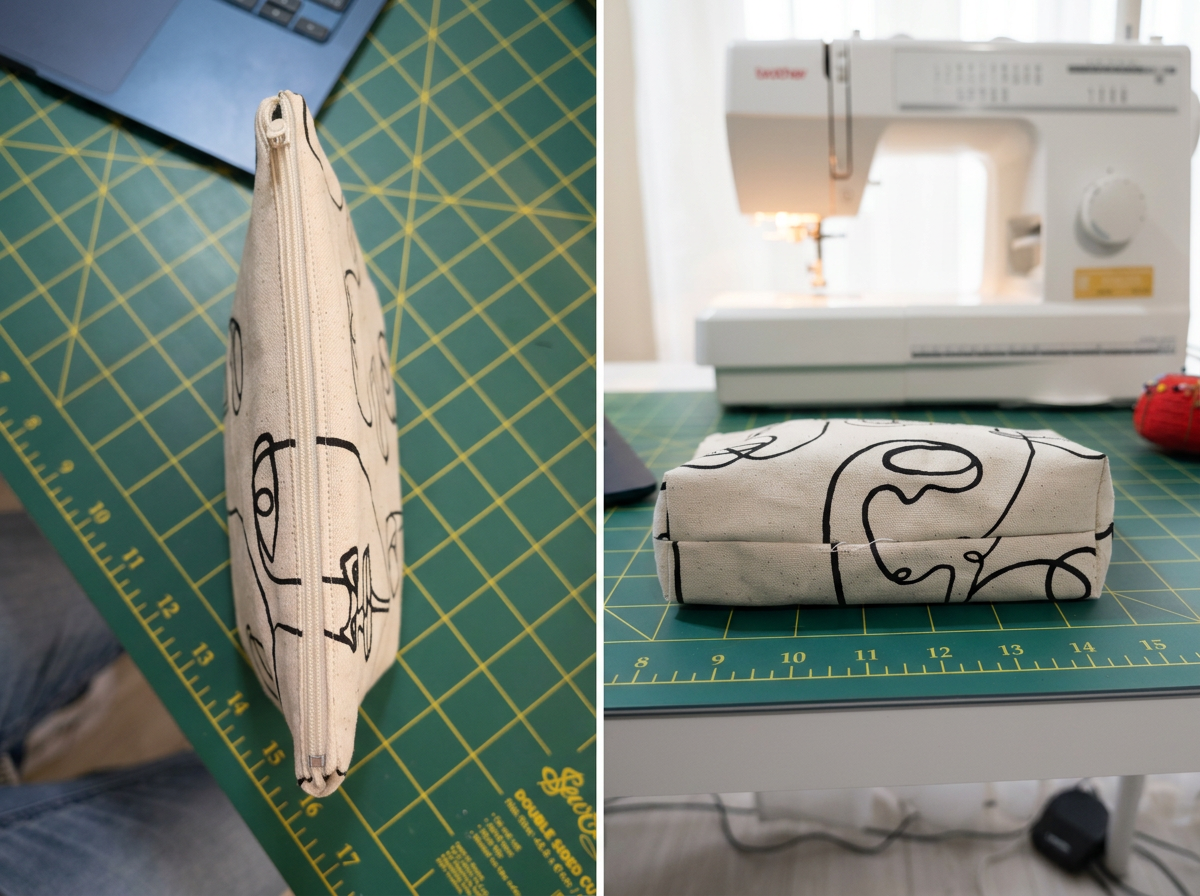
And here it is — my first lined zippered box pouch!
I'm pleased with how it turned out, especially considering this was my first attempt at inserting a zipper into a lined project.
The pouch holds its shape, the zipper works, and the boxed base gives it enough depth to be practical.
Looking closely at the corners and zipper ends, I can see where the layers have become a little bulky. The combination of cotton duck and cotton denim is quite substantial when several seam allowances meet in one place.
That doesn't mean the fabric combination was a mistake. For a first draft, it worked well and allowed me to practise the construction without needing to buy more supplies.
But if I were making this pouch again, I'd experiment with lighter fabrics to see whether I could achieve a cleaner finish without losing too much structure.
What I'd change next time
There are a few things I'd like to experiment with in Version 2.
A lighter lining: The denim lining worked, but a lighter cotton would reduce the bulk where the seams meet.
A different outer fabric: Quilting cotton or cotton poplin could make the pouch easier to sew through multiple layers. If the fabric needs more body, I could add lightweight fusible interfacing to the outer pieces.
Neater zipper ends: With less bulk in the construction, I hope to get the zipper ends sitting a little flatter and more evenly.
More practice with consistency: I'd like to keep working on straight topstitching and making sure the boxed corners are as even as possible.
The important thing is that I wouldn't need to change the entire construction method. The basic approach worked, so I can focus on improving the details rather than starting again from scratch.
What this project taught me
My first pouch reinforced something I started learning with the mattress topper bags: making something useful is often a process of testing, observing and refining.
The storage bags taught me about measurements, circumference and ease. This project introduced me to zippers, linings, topstitching and boxed corners — and showed me how much the choice of fabric affects the finished result.
I'm also beginning to see how these skills connect to the things I might like to make in the future. Zippers, linings and neat finishes are useful techniques to have under my belt if I want to develop a range of practical accessories or eventually explore making products to sell.
I'm not aiming for perfection on the first attempt. I'm aiming to understand what I'm doing, build confidence and make each project a little better than the last.
And for a first zippered pouch, I'm calling this one a success.
Next up: a reversible drawstring project bag, where I'll get to practise drawstring construction again while learning how to combine two fabrics into one finished piece.
Thanks for following along with my sewing journey!
Sam Sews So Well
If you want to see more and help me on my sewing journey, please consider a contribution to ByMeACoffee